The date range icon


The date range icon |
|
|
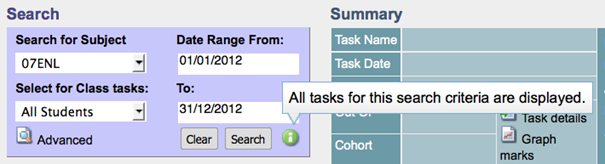
The date range icon is next to the Search button and will appear in either red or green. A Green icon indicates that all tasks created this year for this subject (or class) are currently being displayed in the main grid. If you hover over the icon you can read that this is the case.
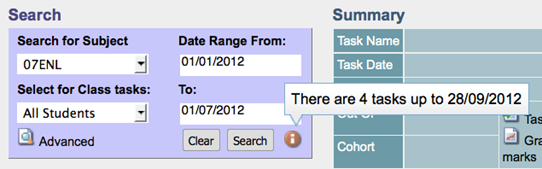
A Red icon indicates that there are tasks created that have a task date of this year, but are not currently being displayed. If you hover over the icon you can read how many tasks are currently not being displayed.
To display all tasks simply broaden your date range.
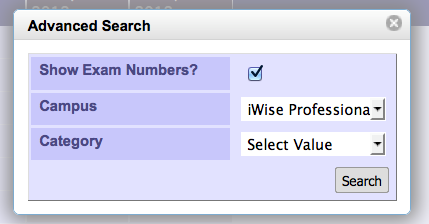
The Advanced Search popup The Advanced search popup gives you a few more searching options.
Click on it to show student Exam Numbers as well as student names, to change the Campus you are working with or to filter tasks by task Category.
Sorting columns As with many grids in iWise, the main markbook grid can be sorted by clicking on a column heading. In the markbook, the name of the task is the column heading. Click on the column heading to sort the grid by that task – lowest mark to highest. Click on it again to sort the grid highest to lowest. Click on the column heading above the students’ names to return the grid to alphabetical order.
|